Docker: Using Containers
Docker: Using Containers (PART 2)
Let us dive right into hands-on coding to use containers in Docker.
$ sudo docker run hello-world
You can skip the sudo if you are running docker as adminstrator.
You should get the following message if the installation was successfull:
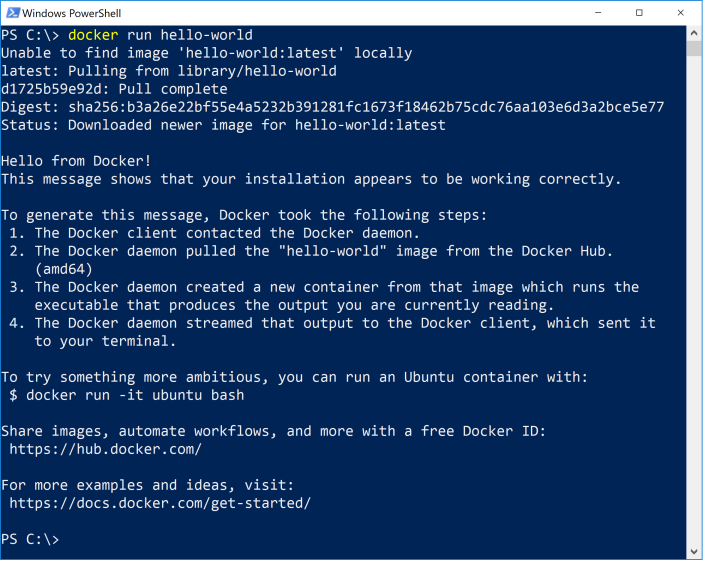
Let us see what exactly happend behind the scenes here:
The following steps took place to display the above output:
- Our command instructed the computer to run the docker image called hello-world
- The hello-world image was fetched from the Docker Hub
- If the image was locally available then it will be fetched from the cache
- The computer runs the image on local machine
- Stop the container
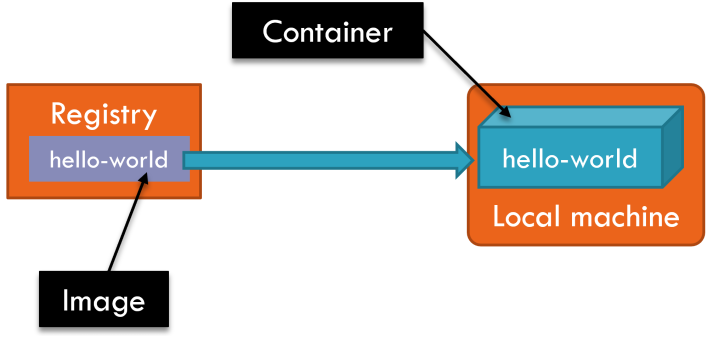
So, the bigger question is where do these images come from?? When the container image is not present locally then it is fetched from a registry on DockerHub online which is a collection of all the container images. DockerHub is a paid registry which allows unlimited storage and access for public registries and restricted access for premium registeries. It can be accessed on https://hub.docker.com/. You will have to sign up on this website in order to publish any images to the Docker registry. So, before proceeding further go sign up on the above link! To access the account through the terminal for uploading images, execute the following command and answer the prompt of login details:
$ sudo docker login
If we wish to upload an image to the registry, we use the following command:
$ sudo docker push image-name
where image-name will be the title of your container image. If we wish to access the various commands or debugging logs we can use the following command:
$ sudo docker run --help
Some of the options for docker command manipulations are:
- docker logs: It provides a view to the entire detailed logs of execution and after stopping as well.
- docker ps: Lists all the running container images and if used with the option -a it also displays the stopped containers.
- docker stop: Used to stop a running container.
- docker rm: Deletes a container.
- docker inspect: Get details of the container Let us try out some of these commands!
$ sudo docker ps
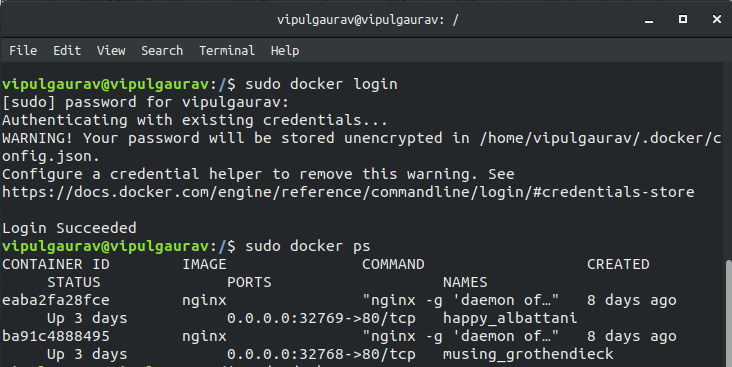
We get the list of containers running currently with their dates of creation and unique IDs.
$ sudo docker ps -a
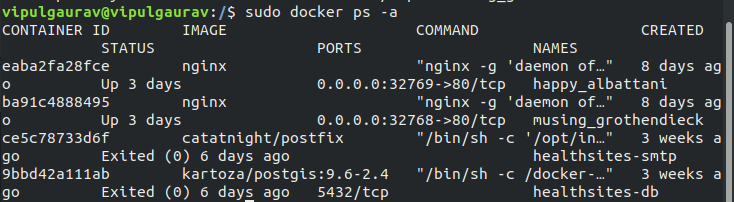
It displays the stopped containers as well.
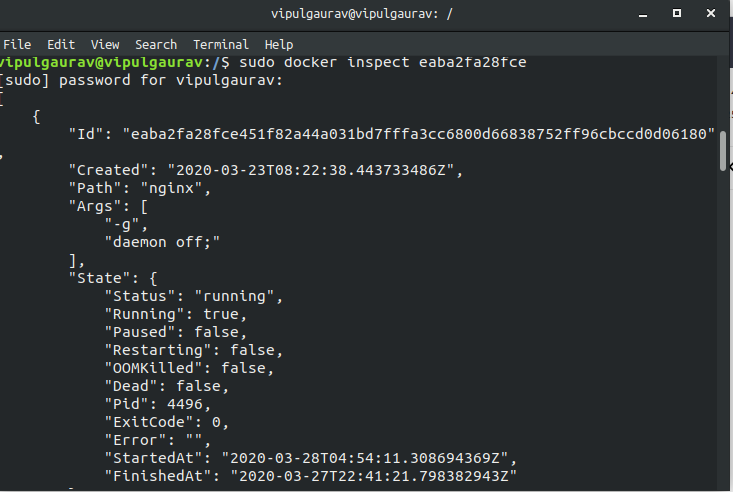
$ sudo docker inspect container-id
We use the container id of the nginx image specified in the above illustration.
When we inspect it we get a detailed log whose small part is illustrated below.
Now, let us talk about the docker run command more in detail.
The run command is analogous to setting up a new machine with brand new programs for execution. It allows the creation of same image multiple times in different containers as well. This feature makes it useful in executing similar or dissimilar processes in parallel. Say for example, if we run the following commands:
$ sudo docker run alpine printenv
$ sudo docker run alpine printenv
Alpine is a small package in Linux registry and the run command will fetch it from the Docker Hub initially since it is not available on the local system then it will execute the method printenv present in the package. However, it will assign different hosts with unique IDs to each command even if they are same. An alternate to remove stopped containers without specifying their unique ID is to use the following command:
$ sudo docker container prune -f
It removes any inactive containers and the -f switch is an implicit confirmation to proceed and delete all stopped containers right away, instead of asking to confirm that operation. Now, we wish to permanently store data in the containers. Till now whatever information we processed is lost when we stopped the container. Hence, we are going to classify containers based on this:
- Stateful Containers: These containers store the information even after being stopped and retain the contents after its resumption.
- Stateless Containers: They lose all the information processed as soon as it stops.
The internet makes use of long lived running containers for network connections called server containers. Let us illustrate it with the following example:
$ sudo docker run alpine ping www.docker.com
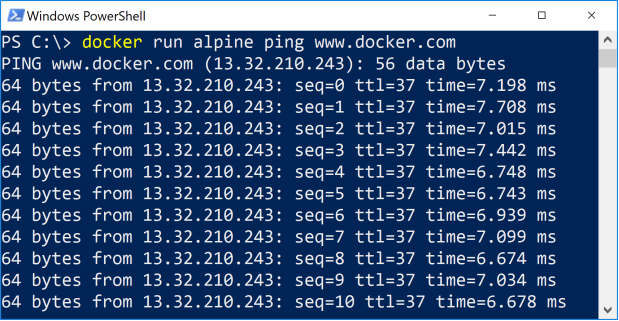
The ping command will not stop as the server is hosted and continously running in the background and we have to press Ctrl+C to stop the execution of command. If we add -d switch the execution will not display output and only the container is initialized. We can also specify port number explicity to run a server container on a specific network connection as follows:
$ sudo docker run -d -p 8085:80 nginx
This command will run the server named nginx on port number 80 with -d switch indicating that it will run in the background. To check it out you can visit http://localhost:8085 :
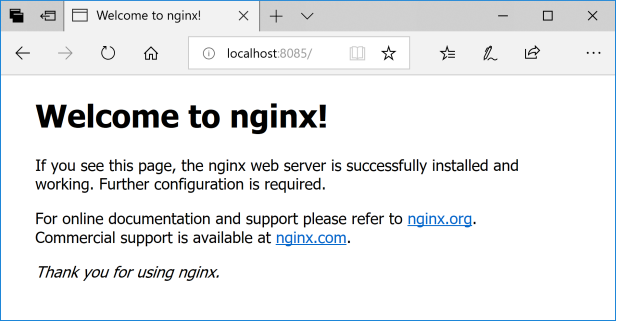
If you get the above message it successfully executed!
The best part about this is that containers isolate all the processes within itself and will not affect or be affected by the processes occuring on the local machine. It ensures that each software deployed through a container meets its own requirements without affecting the specifications of the rest of the system.
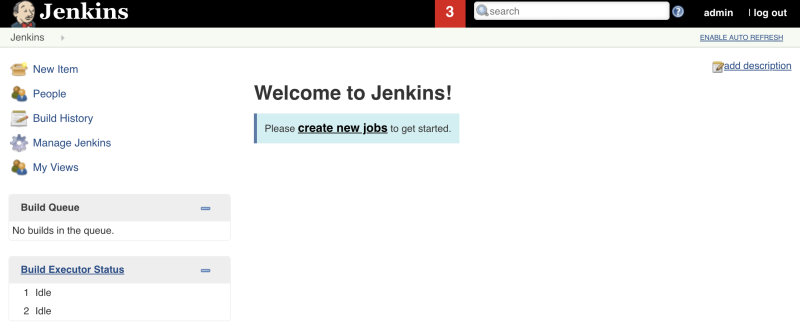
Let us try running a Jenkins server as a wrap up for this post.
$ sudo docker run -d -p 8088:8080 jenkins
We will get the following processing command at http://localhost:8088 :
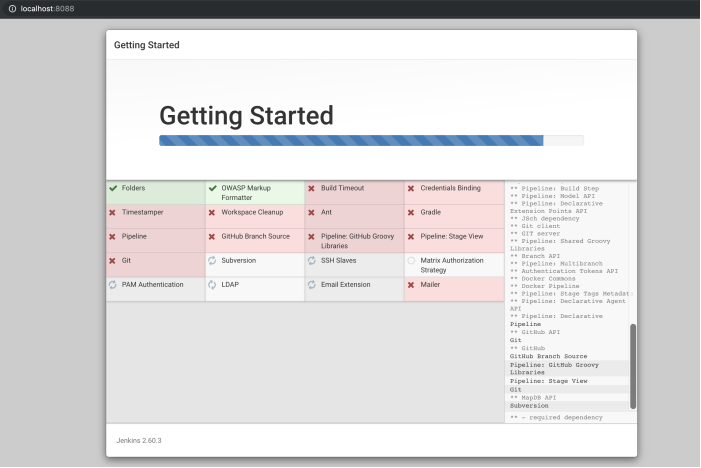
Once you sign up and login then:
We can now continously integrate server and make changes with the localhost within the container without affecting any external processes. In the next post, we will try learn to create and publish our own docker images! Cheers!