How to contribute to the GLUG Blog

Writing technical blogs not only helps you share your technical expertise but also trains your brain to dig deeper and explain what you learned. We conducted a session on how can one contribute to the GLUG Blog from scratch.
Agenda
- Introduction to writing technical blogs.
- Steps to contribute to the GLUG Blog using Github editor.
- Steps to set up a local server.
- Steps to contribute to the GLUG blog using the Local setup.
- How can one add their author page.
- QnA
Event Details
Date: 25th June 2021
Time: 4:30PM
For any queries, join CodeShack
Or contact, Shreya: +917975496936, Kaushiki: +917261028129
Prerequisite
Enthusiasm that’s it. You don’t need to have about any background knowledge about technical bloging.
You can continue with the blog or watch this playlist on YouTube as well if you like
By following this tutorial you can contribute to any jekyll based blog website.
Contribute to the GLUG Blog using Github editor in 7 simple steps.
This method is not recommended for beginners. Follow the method next to this if contributing for the first time.
You need to create a github account to follow this tutorial.
Step 1: Visit glugmvit.github.io repository on github.
Step 2: Fork the repository.

Step 3: Add a new markdown file to the _posts folder by clicking on “Add file” button on the right.
You will have github editor in front of you.
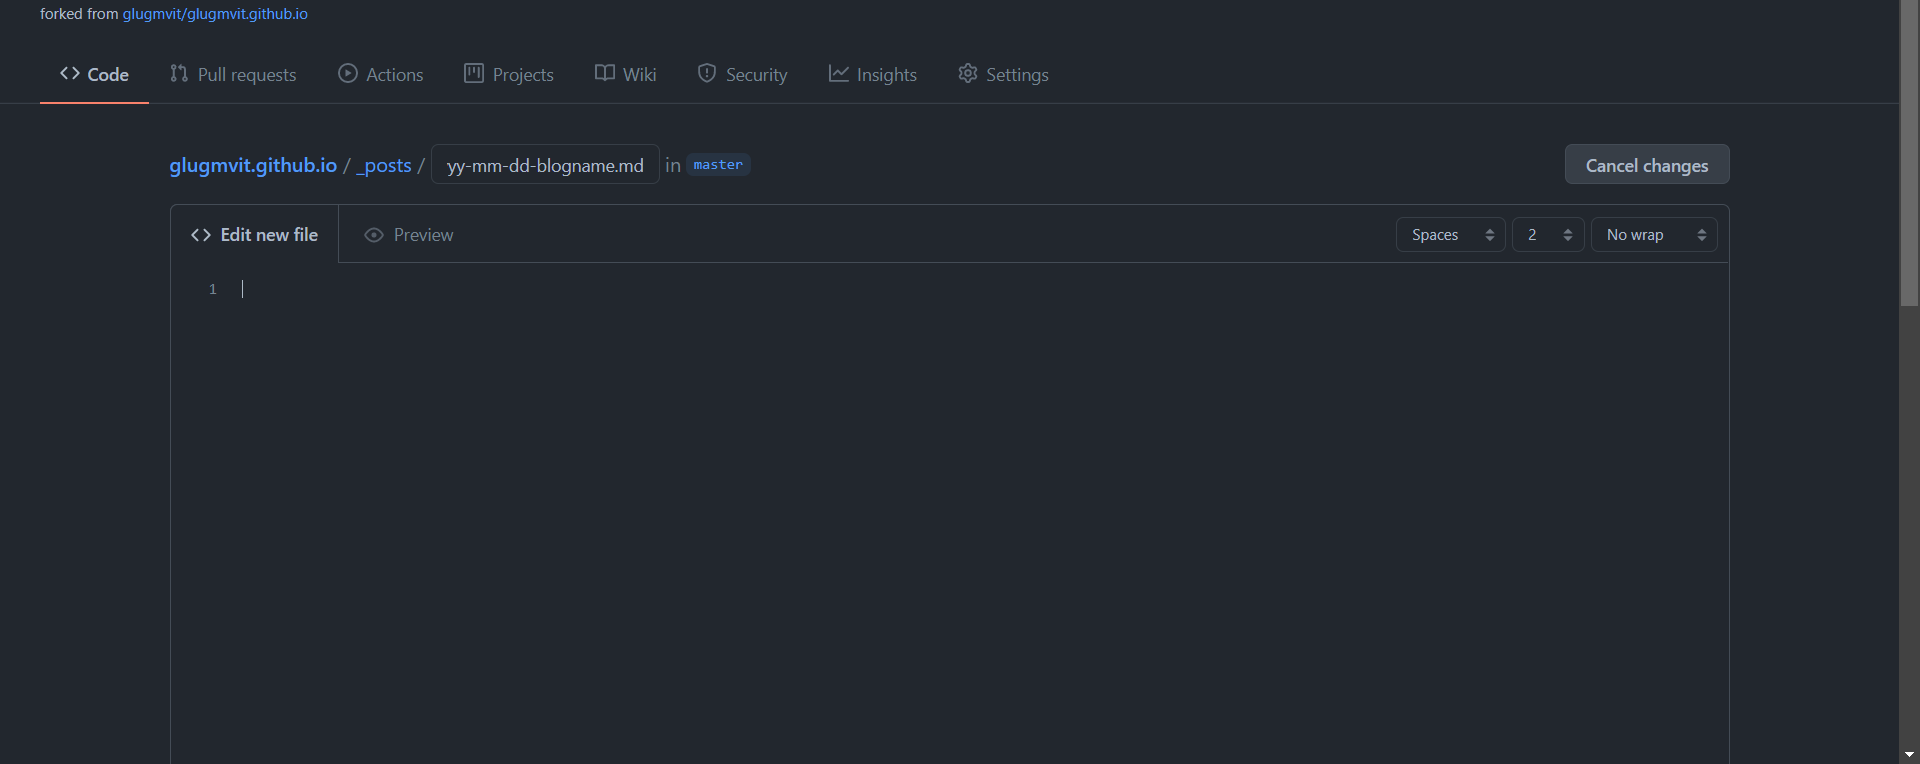
Step 4: Name it in this format YYYY-MM-DD-blogname.md
Refer to older blogs to add important contents for layout on the top which includes layout, title, author, categories, featured, image(banner) and excerpt.
Step 5: Now you can easily write your blog in markdown format. To learn markdown format Click here.
To add images to your blog create a new folder named after your blog in assets/images and add the images you wish to use in the blog. Then add images to your blog giving the image address as suggested by markdown format like

After finishing your blog move on to the next step.
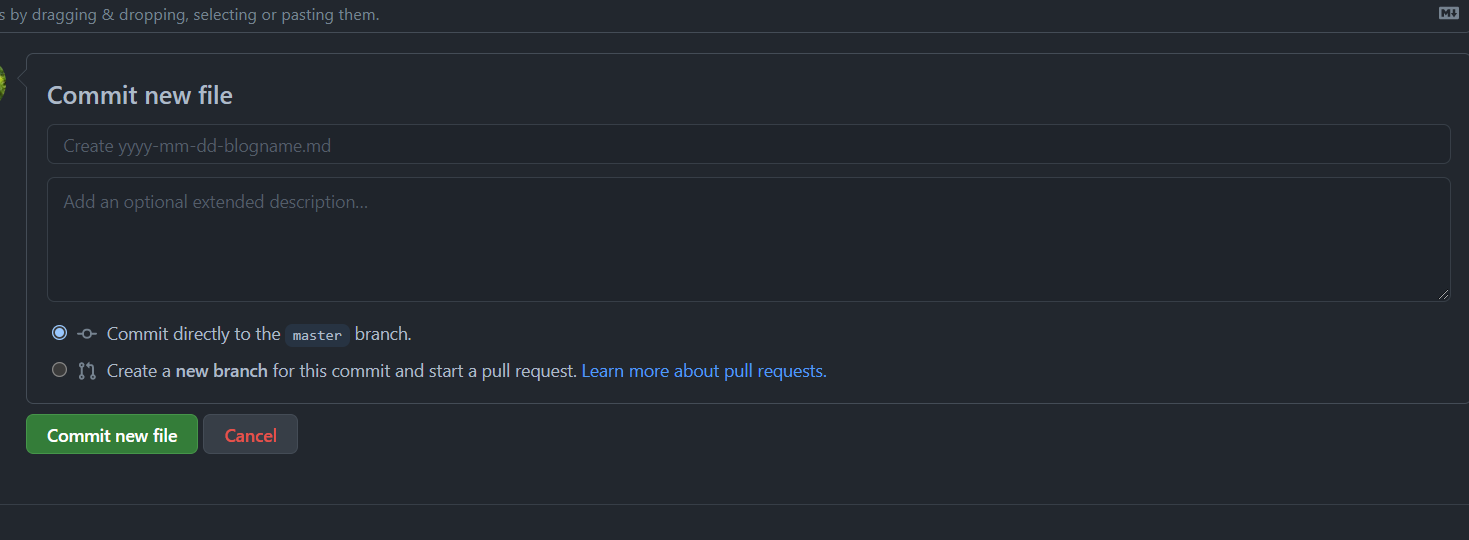
Step 6: Scroll down and commit the changes with a commit message and a description.
After commiting the changes go back to your forked glugmvit.github.io repository. Your commit must be visible on the top.
Step 7: Now you need to create a pull request (to ask the main glugmvit.github.io repository to merge your changes in the code). Click the pull request button on the top.
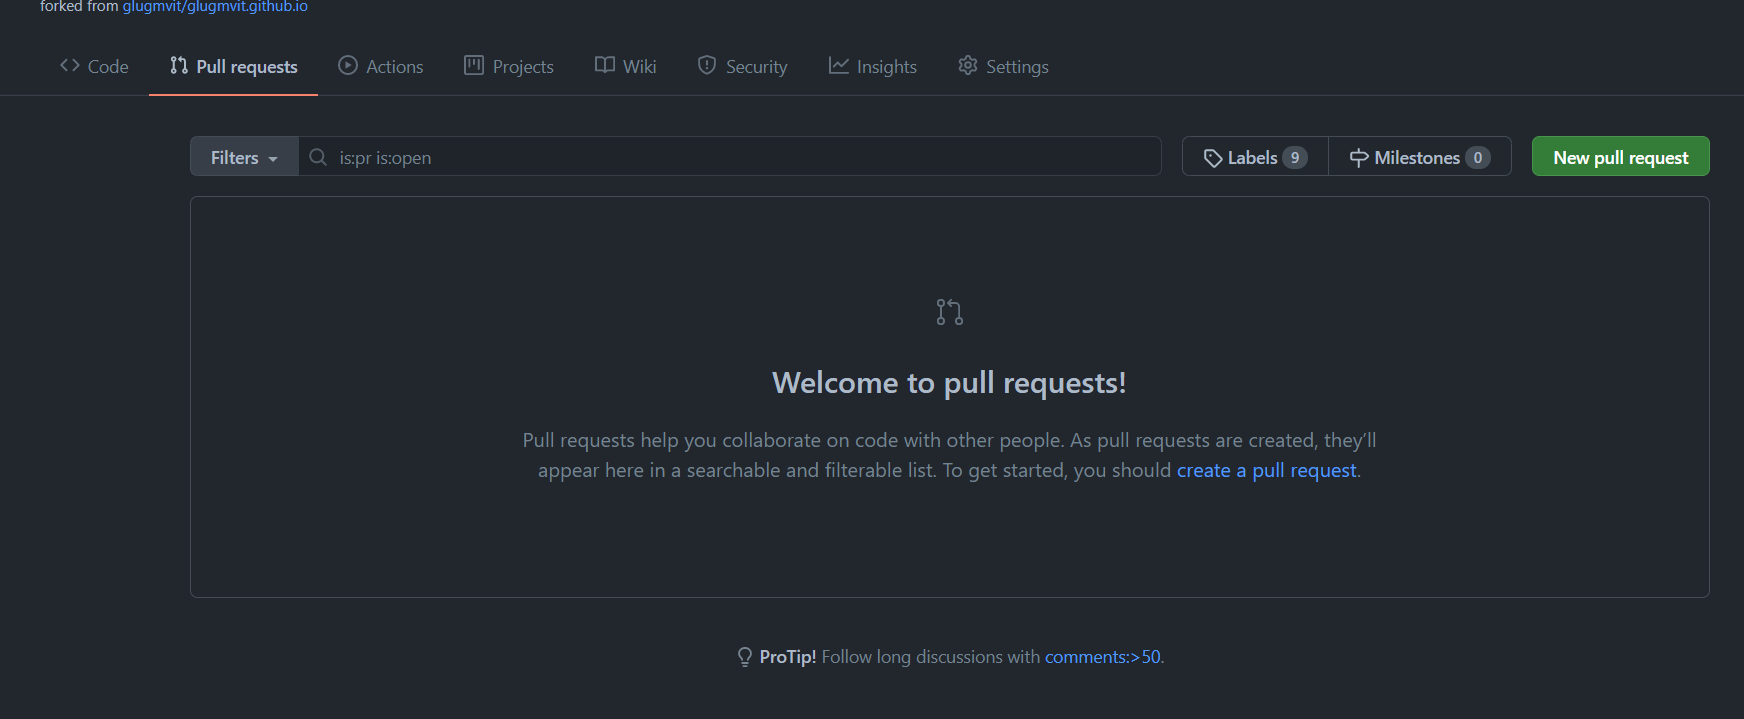
Then click on create a pull request.
Then you could see the changes you have made in the repository. Next, add a pull request message and click on create pull request.
Always make sure your branch is even with glugmvit:master. If not then fetch upstream and merge into your branch.
For detailed explaination about technical bloging, github and contributing through github editor, watch this youtube video.
Steps to contribute to the GLUG blog using the Local setup
First two steps are same as the first method
Step 3: Click on Code button and copy the URL.
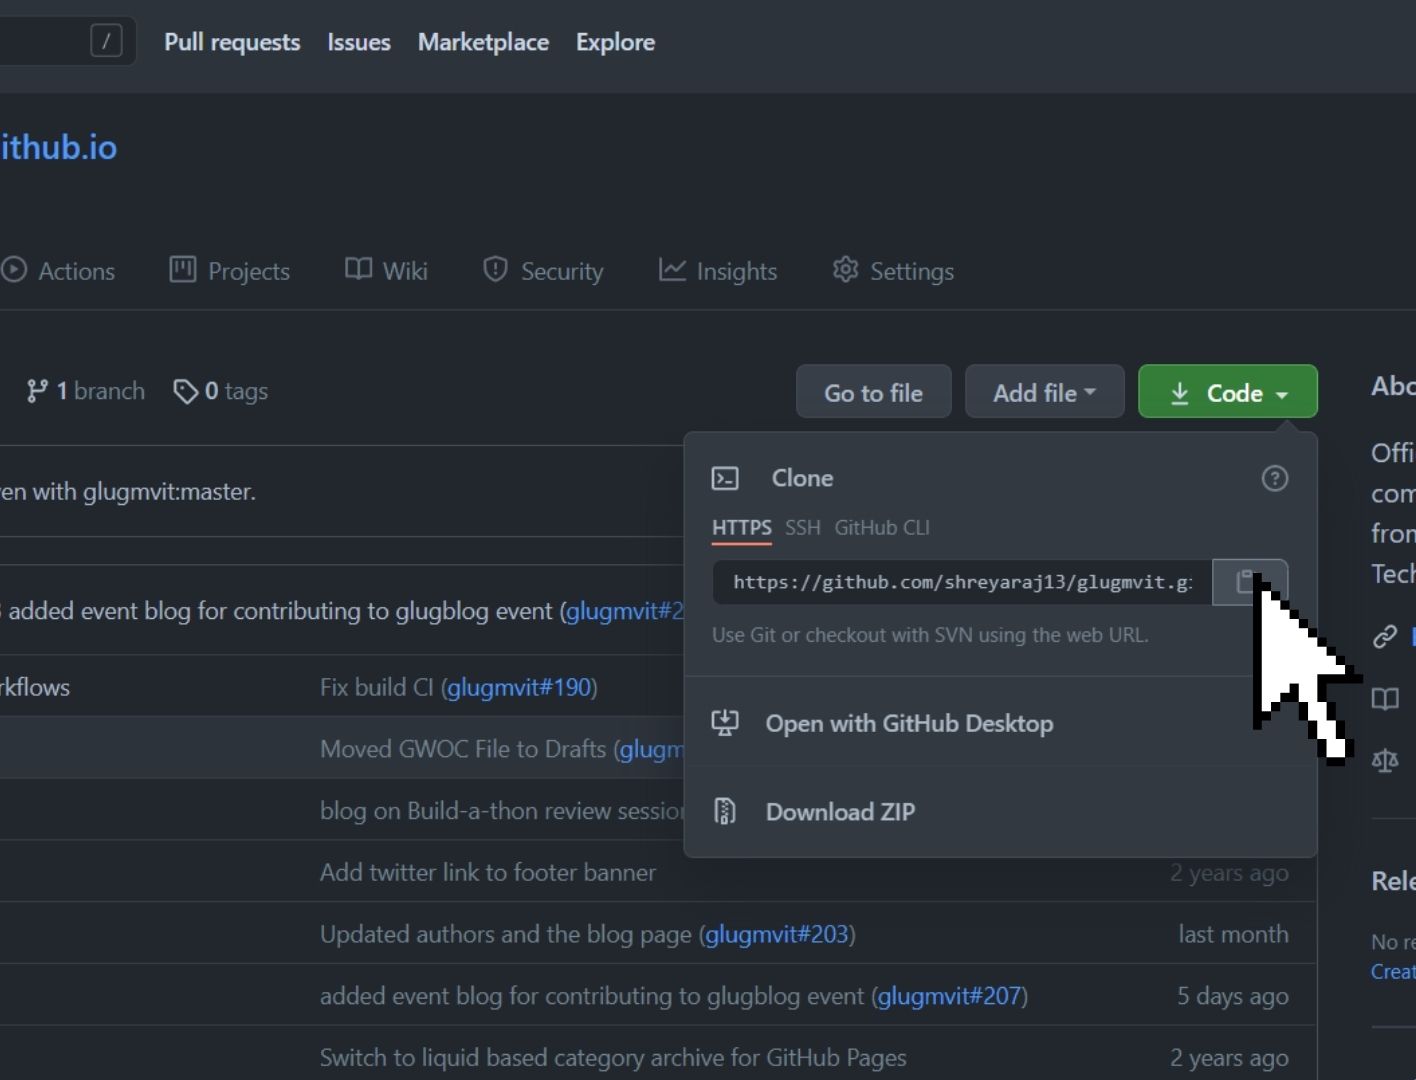
Step 4: Open Terminal (Linux and MacOS) or git bash terminal (Windows) and enter the following command :
$ git clone https://github.com/<Your username>/glugmvit.github.io.git
This will make a copy of yourusername/glugmvit.github.io repository in your computer. Now navigate into that folder by
$ cd glugmvit.github.io
Step 5 (one time setup): Setting up of local server.
- Install ruby into your system. Click here to download ruby.
- Now install ruby by going with the default options.
- After installation, open terminal and run the following commands:
To install jekyll.
gem install jekyll bundler
Now check the version
jekyll -v
Now navigate to glugmvit.github.io folder and start the server by
bundle exec jekyll serve
in case you need to install necessary bundle, run
install bundle
then start the server by
bundle exec jekyll serve
Now you have the website running in your local server. Now whenever you need to start the surver just run the last command and you are good to go.
Now you can open your favorite code editor and starting working on your blog by following the same steps as Step 4 and 5 of the previous method. You can simultaneously check your blog as change it in the local server website. Now you can view the blog as it might look in the main website so there is less room for mistakes.
Step 6: Add your author profile
- In _config.yml file you will find details of all the authors. Add your detail in that file in same format as above mentioned authors.
- Add a new file in the _pages folder named in the format author-yourname.html. Refer to previous author files, copy and paste the code into your author file and change the details into yours.
- Add the author profile picture in assets/images/avatar and name it same as your name.
Check the author profile in your local server website.
Step 7: Now you need to commit the changes you have made. Open git bash and navigate to glugmvit.github.io.
Add the changes by
$ git add .
This will add all your changes you have made in the code.
Now Commit the changes with a message by
$ git commit -m "your message"
Step 8: Now you need to push the changes in your repository. Push the changes by
$ git push origin master
Now the changes you have made are pushed into your repository. Now you could see this new commit on the top.
Now you need to create the pull request by following Step 7 of the previous method.
This is how you can easily contribute to the glug blog.
Watch this video for detailed explaination of contributing to the GLUG blog using the Local setup
Watch this video for introduction to Gitpod, QnA session and end notes.
